Functional Threshold Power FTP
(Power & Heart Rate Zones)
You’re going to see these words crop up in your programs, as well as terms like T2 or T4.
What do they mean?
Why do we use them?
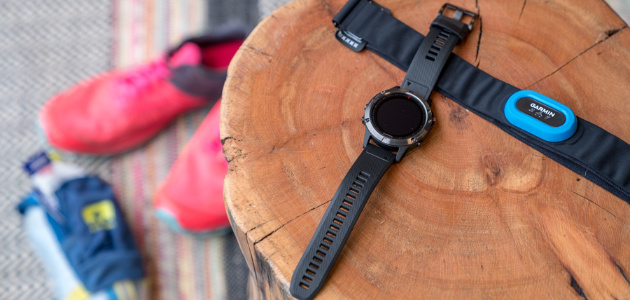
Basically, we set training intervals at specific zones, or percentages of your maximum Heart Rate. These zones can be calculated by various means and tests, but a simple way of doing it is to use two figures that can be measured fairly easily:
- Resting Heart Rate (RHR) – your lowest steady heart rate, best found first thing in the morning, before you do anything.
- Maximum Heart Rate (MHR) – As fast as your heart can go under stress! Found via various tests e.g. The FTP test.
We know that your MHR will vary across different sports and at different times and situations, but for the sake of the argument, as long as your testing protocols remain consistent, it will be accurate enough for progressive comparisons.
USING HEART RATE FOR TRAINING ZONES
We also know that your MHR will gradually reduce with age and the simplest formula for calculating it is:
220 minus your age. So, if you are 40yo, your max HR would be 180. You then calculate your zones as percentages of this figure. For some people this works out surprisingly accurate.
For those who already have a reasonable level of fitness, you could use the following 223 – 0.9 X Age (males) and 226 – 0.9 X Age (females).

An even more accurate method to do this (The Karvonnen method), is to find your MHR via a test, then apply the following formula for each zone:
(MHR – RHR) multiplied by % intensity + RHR
| Zone Number (T) | Training Intensity % | Perceived Effort |
| T1 | 50 -65 % | Easy |
| T2 | 65 – 75 % | Warm Up |
| T3 | 75 – 85 % | Solid / Tempo |
| T4 | 85 – 90 % | Threshold |
| T5 | 90 % + | Anaerobic |
For example, if we wanted to work out the Zone 2 (warm up) HR range, for an athlete with a MHR of 200 and RHR of 50, it would look like:
(200 – 50) X 0.65 + 50 = 148
(200 – 50) X 0.75 + 50 = 163
So, T2 for this athlete is from 148 to 163 bpm.
You will notice there is some cross over in the training zones and there is an individual aspect to it that you will adjust via experience.
WHAT ABOUT POWER?
Now there is an elephant in the room here, can you see it? When we do this test, it is called a “Functional Threshold POWER” test!
POWER, where does this fit in?
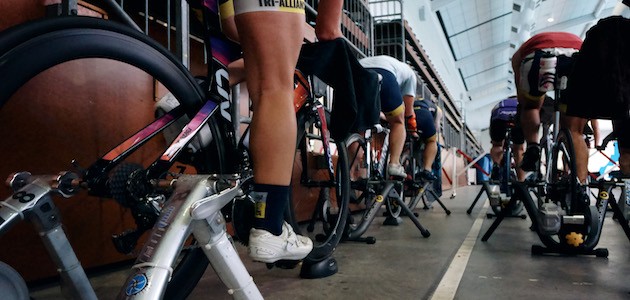
If you have a power meter, then you can do this test and get a measure of another set of zones based on power values, not Heart Rate.
The test has a key interval of a 20min block at, and above threshold – basically as hard as you can go. At the end of this 20min you should be gasping, vomiting, crying, fainting ……you get the picture, in other words you must empty the tank and give it all you’ve got!
This is not easy, it takes practice and the more times you do it, the better you get, and therefore get a more accurate picture of where you’re at.
I’ll talk more about the test later, for the moment let’s get back to power.
So, you’ve done the 20min interval and you’ll get an average power reading for that 20min.
(Really important to hit the lap timer here for both power and HR), you then take 95% of this value to extrapolate the 20min to a 1 hour interval, and this gives your FTP.
So, your FTP is the power you can sustain for 1 Hour!
You can take your FTP reading and, like HR, take percentages of it to work out your training zones as follows.
You’ll note there are more zones than with HR but there is a correlation and an overlap, and when you start matching both these with perceived effort (Rate of Perceived Effort or RPE), you get a more powerful training tool at your disposal.
| Zone | % FTP | Perceived Effort / Intensity | Interval time |
| 1 | < 55% | Recovery | |
| 2 | 56 – 75 % | Endurance | 1 – 7 Hour |
| 3 | 76 – 90 % | Tempo | 1 – 3 Hour |
| 4 | 91 – 105 % | Lactate Threshold | 10 min – 1 Hour |
| 5 | 106 – 120 % | VO2 Max | 2 – 10 min |
| 6 | 121 – 150 % | Anaerobic | 30 sec – 2 min |
| 7 | 151% | Neuromuscular / Sprint | < 30sec |
RATE OF PERCEIVED EFFORT
These zones can vary a bit depending on who you listen to, and it brings me to what I briefly mentioned before: Rate of Perceived Effort or RPE
This is rating you put on an effort that you have done!
It is subjective, but as I have said before, if you keep your parameters consistent, it gives you a measure you can refer back to. And once you get a bit of experience, it is surprisingly accurate and extremely handy in races for example, where you can’t be looking at your watch all the time to see your power or heart rate values.
This value can be from 1 – 5 or from 1 – 10, depending where you look. But again the key here is that it is a value that can be compared from one session or interval, to another, and from one time to another.
So, if you were doing a T4 session it would be around 4 on a 1-5 scale, or 8 on a 1-10 scale.
The 1-10 scale gives more room to move here! Add factors like fatigue, soreness, heat and the RPE would be higher. OR if you’ve just come out of Transition, jumped on the bike and your HR is through the roof but you know you should be aiming for 230 watts and your RPE is at 9 ….. and then you remember the words of your coach at WT on how to control this, get your HR down, use your cadence and gears relax you upper body ….. and get yourself going quickly, calmly, clinically!
But I digress!

WHY USE POWER?
So, what is the advantage of power over HR???
- If you know your FTP and your bike leg will take approximately 1 hour, then you know you can hold that power for 1 hour. If it is shorter, your power can be higher, simple!’
- If we are doing a T4 set at WT and you are using HR, there is a time lag before you hit T4. So it’s a bit hit-and-miss in a short interval. Whereas with power, you could go straight to 110% of FTP and watch your HR.
OR
- Say you’re out riding, and you feel like it’s really slow, but you look at your power and it’s above FTP, then you think, WOW my RPE was at 8 and I was right!!!
Also, at the risk of being controversial and making generalisations here (but I like to do both to simplify things ‘cause we can’t be reading a text book when we are out there training or racing)…
- Power measures ….well…. Power or Strength
- Heart Rate measures fitness
As you get fitter (and stronger) your cycling MHR will get closer to your true MHR*, and your RHR should drop, so your HR zones will change slightly.
Meanwhile your power readings should change more significantly, and so give a clearer (and easier to follow) reading as to how your training is progressing.

THE TEST ITSELF
Firstly, you need to be fairly fresh before you do the test. Don’t do hard sessions in the day or days leading up to it.
Try and reproduce this status each time you do a test.
The key part is the 20 min interval, but this doesn’t come till after about 45min of warming up.
The warmup includes some T4 and a fair bit of T3.
Just prior to the 20min set there is 10min at T2-T3 where towards the end you try to bring your HR up to High T3, so the 20min IS a 20min effort, not a 1 min build then 19min effort.
Hit the Lap timer
Hit the Lap Timer
HIT THE LAP TIMER
The 20 min interval; It’s all T4-T5 (RPE 8-10)
Hit the Lap Timer
I like to divide it into 4 lots of 5min:
- The first 5 is above what you think you can hold, then re-assess at the 5min mark!
- Second 5, adjust higher or lower, be hard on yourself, expect to fade at the end.
- Third 5, maintain, refuse to let yourself back off, RPE should be 9ish.
- Last 5, hold on, move from RPE 9-10, empty the tank go for the line!
THEN…
Hit the LAP TIMER!!!
Collapse (I’ve seen people fall off their bike on a trainer)

FINALLY
What if I haven’t done one before?
What if I don’t know where my zones are?
The first thing to do would be to estimate your max HR, and you could use the 220 minus your age as a start, then look at your training sessions and see if you can find what your highest recorded HR was, and remember if that was as hard as you could go.
OR
For MHR, you could also use: Males 223 – 0.9 X Age
Females 226 – 0.9 X Age
(As stated above)
Now take about 90% of that, and use it in the 5 min T4 interval that is in the warmup part of the test and see how you go. Then adjust up or down for that first 5min of the test itself, remembering to push harder here than what you think you could actually hold for the 20min, and proceed as above.
Well done you’ve made it, now we can go train even harder!
Don’t worry if you don’t have a power meter, you can do just as well without it. HR zones have stood the test of time.
~ Coach Gaz

