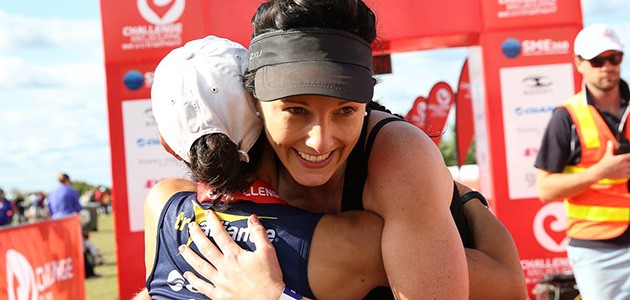
Tri-Alliance will ensure you are prepared come race day with our Triathlon Race Day Tips. In this article, you’ll learn how to prepare with pre-race training tips, use our Checklist to ensure you don’t leave anything at home, learn what a ‘transition’ is and how you can improve them and review your race and concentrate on trying to improve your race times for next time.
Pre-Race Training Tips
Is your race season nearly about to start? Or have you left your training to the last minute? Don’t worry. With a simple plan, dedication and our tips on how to train for a triathlon, we’ll help you get to race day with relative ease and help you exude confidence on race day.
Brick (or Combo) Sessions
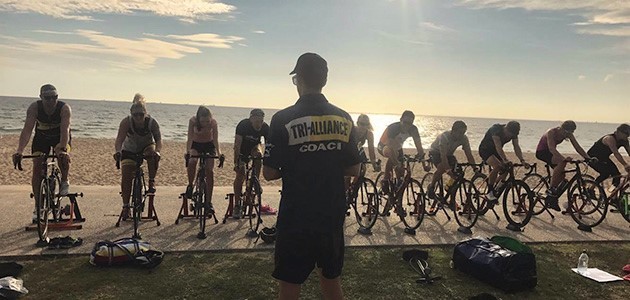
Brick (or combo) sessions around eight weeks prior to you racing are extremely important in helping you get a feel for the race, as it somewhat simulates the real thing.
A brick session involves riding and running in the same session, usually doing a set distance for the ride before doing a transition which takes you straight into a fast run to finish off the bike.
A brick session could include: Warm up / 3-4 x (15min ride at 80%, 1km run at 85-90%) / cool down. These sessions can either be done from a wind trainer (controlled conditions) or on the road, finishing at a location where you can easily change into your runners.
These sessions allow for leg speed to be developed after coming off the bike, and are great to simulate race transitions. Depending on the race distance you are aiming for, you can then slowly increase the ride and run distances in your brick session.
So if you haven’t started including brick sessions into your training, why not start implementing into your training program. You will definitely reap the rewards.
Transitions – what are they and how can you improve?
Most triathletes spend the bulk of their training time focused on the three events: swimming, cycling, and running. But the transition between each event also requires specific training.
Each triathlon has two transitions: a swim-to-bike (T1) and a bike-to-run (T2). If you have never been shown what to do in a transition it can be very daunting!.
Knowing what to do in transition is important to ensure you have a good race, plus, a good transition can improve your position and can even save you minutes on your overall time. So here are some basic tips to help you perfect your transitions.
Ever wondered how the pro’s set up their triathlon transition? Our transition tips and tricks provides you with everything required to have a quick and easy transition
Transition Tips
- Your gear should be located on the RIGHT HAND side of your bike. So whether you rack by your saddle or bars, always set up your gear on the right.
- If you don’t already have them – invest in a pair of elastic laces for your runners. Replace your normal laces with elastic ones and presto – you will be in and out of transition in no time.
- Another good tip is to sprinkle the inside of your shows with baby powder. This helps them slide on easier and soaks up any moisture.
- Line your gear up in the order you will be using it, e.g bike shoes, runners and helmet on top. Place sun glasses in your helmet if you are wearing them, and always have your helmet unbuckled and straps out to make it easier to put straight on.
- Stay calm in your transition! There’s nothing worse than not being able to get out of your wetsuit, fumbling around, or dropping your helmet. You want a fast transition, but you also want it to go smoothly.
- Don’t touch your bike until you have done up your helmet. It is illegal, so you could get disqualified!
- Once you have your helmet secure, put your bike shoes on (if they aren’t already clipped onto your bike) and you are ready to roll!
- Un-rack your bike and run with it on your right-hand side, holding your seat with your right hand.
- Your bike should already be set in an easy gear, run your bike out to the mount line and jump on. REMEMBER, you can’t jump on your bike until you past the mounting line. There are many ways of mounting your bike, but this needs to be shown and practiced. (join one of our beginner training programs to learn how the pro’s do it)
- Slow down ready to dismount at the dismount line. Remember, you must have both feet on the ground BEFORE the dismount line.
- Keep your helmet fastened until your bike is racked back where you began.
- Rack your bike, and take off your helmet – do this FIRST to avoid running out with it still on your head! Put on your runners (if not already on). If you don’t have elastic laces then you need to get some ASAP.
- If wearing a hat on the run, don’t put it on in transition – just grab it and go. It’s quicker to put on while running. (more seconds you will save!)
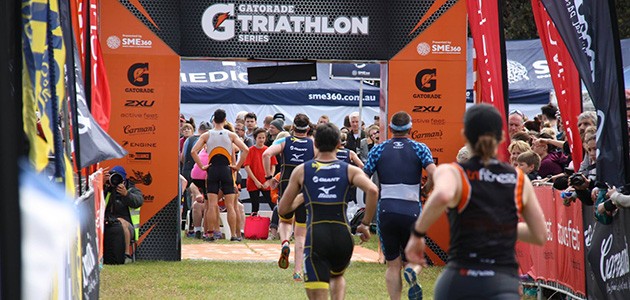
- And last but not least – enjoy crossing the finishing line! It’s all about the photo, so remember to smile.
Remember, a good transition takes practice and time to master, use these tips and tricks and practice, practice, practice.
Improving your Triathlon Race Times
Now that you have completed a few Triathlons, you should be concentrating on trying to improve your race times. Although it is hard to compare times from race to race as there are many variables including weather conditions and the race venue, it is still a good time to go back over your last few races, review your times and set goals for your upcoming races.
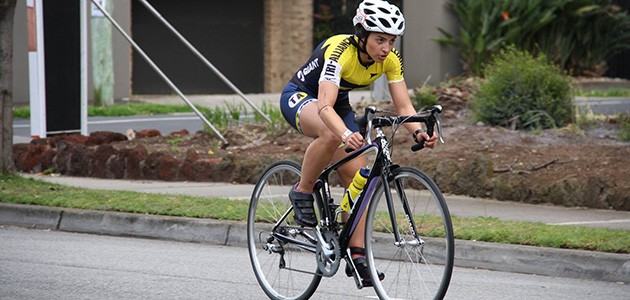
Race Time Tips
To try and determine what goals you want to set yourself, you should go back and look over your previous race results. A great way to review them is set up your own results spreadsheet.
Copy your times from your previous race results (found on the website of the Triathlon race you competed in) and then paste them into your spreadsheet and continue to add to this as you continue to race.
This is also a great way to see how you have gone over a season and how effective your training has been.
Sometimes it is hard to recall what the conditions were like from a previous race, so a good way is to add comments to your Race Results Spreadsheet.
Add a column in, and note down any factors that may have influenced your race such as weather conditions – including water conditions (choppy/flat/tide etc), wind, rain and even how you felt – anything that may have impacted on your race.
You can then easily go back and review this before your next race and factor this into your goal setting.
Break down your race into each discipline (leg), and write down goal times for each leg rather than an overall race time. Too often, athletes get caught up in the overall time in which they finished, rather than setting down leg-based goals.
This helps you keep on track with your goal as you race. A good way to keep track during your race is to check your multisport watch (if you have one) at intervals throughout your race to see how you are going.
If you see you are behind your goal time then use this as an incentive to push yourself that little bit harder. There is nothing more challenging than racing against the clock.
You have now set your goals – now let’s go out and get them!
Goals are set to challenge yourself, to push yourself that little bit harder in training and racing and there is no better feeling than when you cross the finish line knowing you have reached your goal.
So let’s put a few things in place now to help get you there.
For example, if you have been racing for three months, you have developed a sound fitness base. To improve your times now over a Sprint Distance, you should incorporate speed and interval training.
To do this, build into your training a one-speed session per week for each of your disciplines. For your run you can incorporate intervals such as 4-6 x 500m hard effort, 1min rest.
On the bike you want to find somewhere where you can ride uninterrupted. Once you have done 5-10km warm-up, complete speed intervals such as 6-8 x 1km hard effort, 1km easy.
Similar can be done in the pool. Instead of just jumping in and swimming laps at a constant pace, break it up and include intervals such as 2 x 150m solid effort, 1min recovery, 4 x 100m hard effort, 30sec recovery, 4 x 50m hard effort, 20sec recovery. (Your ‘hard efforts’ should be about 10-15% harder than your race pace.)
The idea of speed/interval training is to simulate the intensity of a race and to overload your body by where it is then allowed to recover and adapt to the increased intensity.
Over-time this allows your body to cope with harder more intense training sessions- and therefore faster racing!
The biggest gains can be made from working on your weaknesses. So if swimming isn’t your strength, make sure you put in the effort to develop your technique and swimming fitness.
Join a swim squad or Triathlon squad (Tri-Alliance have beginner and learn to swim programs to help with technique and confidence in the open water), or simply make sure you are doing 2-3 swims a week rather than focusing on what you ‘enjoy’ or are better at.
The same applies for the bike and run legs. Work on your weaknesses now and you will see a significantly bigger improvement than working on your strongest legs.
After your race, always go back and review your goals. Look at what went right and replicate this into your next race, but also look at what went wrong.
Did your legs feel too heavy on your run? Maybe you pushed the bike too hard. Did you take too long in transition? Did your pace drop towards the end of your run?
Once you know what went right and what didn’t, you can work on developing your training to ensure you don’t make the same mistake twice.

